In its own words:
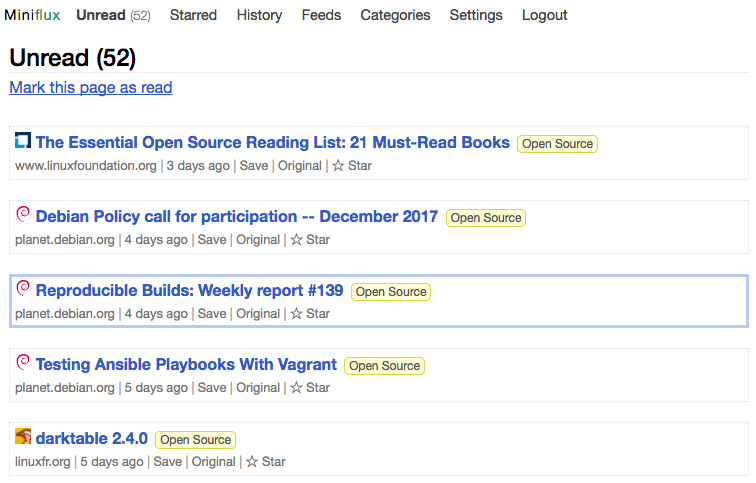
Miniflux is a minimalist and opinionated feed reader.
Here’s a quick rundown on how to self-host your own Miniflux instance on fly.io.
Prerequisites
This tutorial assumes you already have a fly.io account and have flyctl installed.
If not: head over to the getting started documentation
Create a new app
fly launch --no-deploy
Create a Postgres database
flyctl postgres create
This should give you a connection string URI of the format:
postgres://{username}:{password}@{hostname}:{port}/{database}?options
E.g. mine looks like:
postgres://postgres:e85b9898dcb63b1111e4980e8dbc3bbb90c8c79870ee6eca@jacks-awesome-example-db.internal:5432
Set some Secrets
Following the recommendation from the miniflux docker installation documentation. Take your DB URI and then append ?sslmode=disable:
fly secrets set DATABASE_URL="postgres://postgres:*password*@jack-miniflux-db.internal:5432?sslmode=disable"
E.g. using the connection string from my example above:
fly secrets set DATABASE_URL="postgres://postgres:e85b9898dcb63b1111e4980e8dbc3bbb90c8c79870ee6eca@jacks-awesome-example-db.internal:5432?sslmode=disable"
Then set a default username and password (these can always be changed later)
fly secrets set ADMIN_USERNAME="*email*"
fly secrets set ADMIN_PASSWORD="*password*"
Edit the fly.toml file
Edit the fly.toml file to include the following:
[build]
  image = "miniflux/miniflux:latest"

[env]
  RUN_MIGRATIONS=1
  CREATE_ADMIN=1
The rest of the auto-generated contents can remain the same.
Deploy
fly deploy
You should then be able to access the deployed instance by running:
fly open